
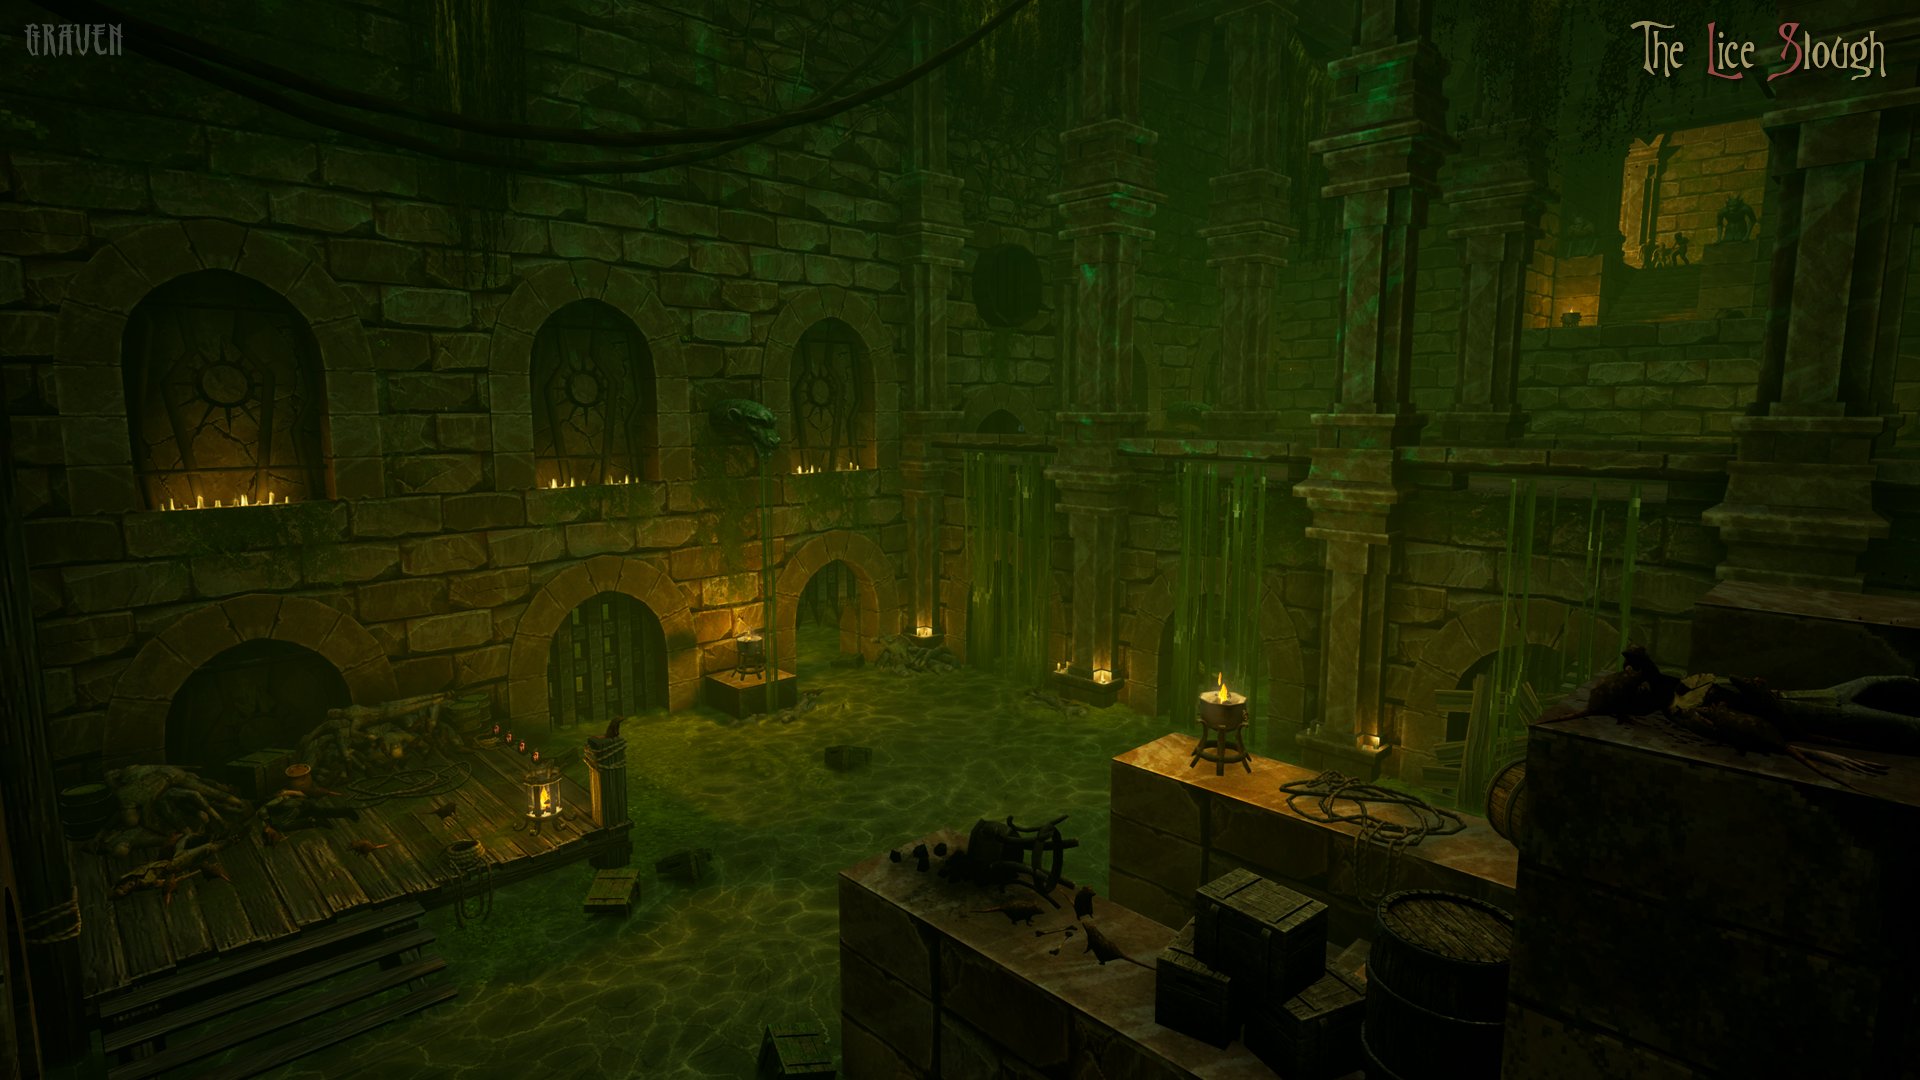
It starts with a write-up of the core goals of the level. For example, "The Brine Muskeg" (Swamps) the player objective is to locate the sinking lighthouse and ignite it to lure the infected away from the gates to the next level.
GRAVEN uses an open world like hub system, designers need to know what level connections to include and where to put them. Missions are broken into mandatory and optional mission types. As above the mandatory mission of the Muskeg is to activate the lighthouse. From there, we list what weapons, items, enemies, etc. the designer needs to use. Most all of this is written by leads and/or everyone in collaborative meetings very early in the games development. Much of this is open to change, within reason, as the project develops.
At this point, the level is assigned to a single, core Level Designer. They continue the documentation process by creating a moodboard. This is collecting reference images that capture the atmosphere, colors, shapes, and so on of what they would like to see in the level. A concept artist then uses that reference to create key illustrations for the level.
The next big part of documentation for the level designer is creating a detailed plan for all the above information. This can include a top-down map, drawings, flow charts, write-ups of locations, encounters, puzzles and so on. This is mostly for the designer and it's up to them to document what they need to convey their ideas to the team. This is a more personalized part of the process as each designer handles their documentation differently.
With all documentation approved, the level designer now builds the level blockout. This is simple geometry to convey shapes, level layout, spaces, etc. This should be a fully playable version of the level from start to finish without any time spent detailing. The importance of this step is to ensure how the layout and gameplay should work, and address any issues before heavy detailing and reworking.
In Dev Blog #2, I detailed the process of creating level blockouts; read it here or here.
After the detailing is complete, the rest of the team dog-piles the level to add set dressing, lighting, vfx, scripting, audio and lore. Most of these have their own sub-level in Unreal so all individuals can be working on the level at the same time. Levels then go through rigorous internal playtesting and polishing.
Design Philosophies
Loops
In a literal sense a circle O shape, the infinity loop ∞ or figure-eight (8). These shapes keep the player in a flow that makes navigation feel smoothly meaningful. Like a roller coaster or race track, there's twists and turns that always come back to the station or hub. Skyrim's dungeons/caves often make great use of this by the end dumping the player back at the entrance. This avoids backtracking and gives the convenience of moving on quickly.
A basic loop is a column in a room. An object the player can run around that also provides cover an empty arena might not.
In this figure-eight example, the player can see, but not reach, a key. They must navigate around the loop to grab it and can drop back down to the entrance.

The first area comes to a 4-way hall where the player can see a key item on an unreachable platform on the left (blue dot) and a locked exit on the right (purple dot).
The only option is the green path to an arena fight. This continues on to a loop around to a key item (aqua dot) which grants access to the blue path loop and finally the exit.
The figure-8 layout is a straightforward way to achieve two loops. The raised areas could also include a raising platform that activates after the goal is reached to create a nice shortcut for backtracking.
Meaningful Backtracking
An infiltration where the protagonist reaches a goal and must escape. In Indiana Jones and the Temple of Doom, he has to avoid all the traps to get to the golden idol. Upon taking it, the temple begins to collapse and he's in a race against time with massive stone doors lowering and the iconic giant rolling boulder before being chased off by locals. The timed escape is a classic, nerve-wracking experience used in many video games. Super Metroid begins with one where Samus enters a dead space station to retrieve a metroid only to be thwarted by Ridley and must evacuate the station before it self destructs. The player learns the environment in a low stress situation then backtracks under high stress.
An example might be stealth into a powerful weapon and fight out. It can be more casual by going in to receive a navigation upgrade like double-jump the backtracking with many new exploration options.
Verticality
Landmarks can guide the player and give them reason to look up. For those that have played the GRAVEN demo you know about the Sunken Lighthouse and the Clocktower visible from the hub and swamp, both of which the player can walk to in the full release. In particular the clocktower is visible from almost all areas and can provide a sense of direction.

Vantage points allow the player to overlook an area, access dangers and plan out where to travel next. When designing the underground area of the first hub, verticality was one of my main goals and it started by laying out three tiers of playable space. The player enters this area from above. This gives the player multiple advantages in that they can see most of the area and can get the drop on the Infected. This goes both ways as in the underground as the transition to the other side is at the lowest level putting the player at the most disadvantage.
Visibility and Occlusion in verticality can provide cover and assist in performance. This also applies to loops mentioned above. The player or enemies gets the edge here. In the first areas of the hub, all of the buildings have optional explorable areas between them. And thanks to UE4's mesh bounds, most things behind them are occluded.
Encounters (covered a bit above): if the enemy is above the player and has a ranged attack this can be incredibly oppressive to the player. If you've ever played Quake, you know the destructive power of a couple Ogres lobbing grenades down or in DOOM when a designer places Revenant on a tall platform. Basically a turret spamming explosives. In the opposite situation, enemies placed in a basin below the player are fish in a barrel.
Epilogue
When it comes to Level Design I could go on all day. If you’re interested in it, Quake and DOOM communities are a great starting place. UE4, Far Cry, Source, Mario Maker for 2d. Another great resource is the LevelDesign hashtag on Twitter. Find what you want to make, study and the best advice I can give is make maps.
Wishlist GRAVEN on Steam and GOG!
By Chris Holden - Lead Level Designer