
My name is Ben Hale, and I’m a texture artist on GRAVEN. I currently work full time at ILMxLab making Star Wars VR games, and have had the pleasure to work on Graven during my spare time and weekends.
This is not a tutorial, but a bit of a peek into my workflow.
I make every texture in GRAVEN inside of Substance Designer, a powerful node-based tool specifically designed for generating tiling textures. Even though Substance is intended for current-gen PBR materials, it’s surprisingly useful for chunky pixel art or retro diffuse textures.
You might think “wouldn’t painting in photoshop be easier?” Sure, it’d be easier if I only needed to do something exactly once. Thus far I’ve made about 500 textures for GRAVEN in only a few months, and that time can add up remarkably fast even with batch scripts or a solid painting pipeline.
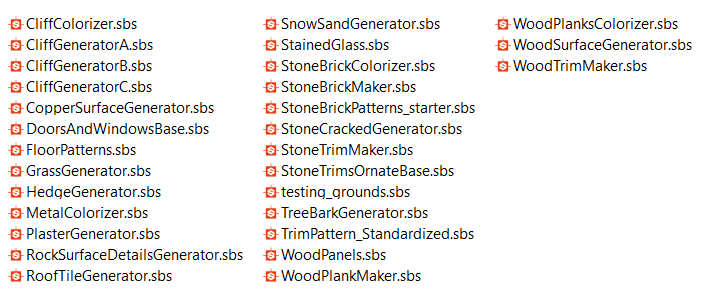
You only have to do something once in Substance, and with some parameterization you can turn that one something into a tool to create many more. I’ve made several tools for GRAVEN that enable me to work modularly, and create textures in minutes rather than hours or days. Though making these tools in the first place was a time commitment, in the long run I’ve saved several months of labor.
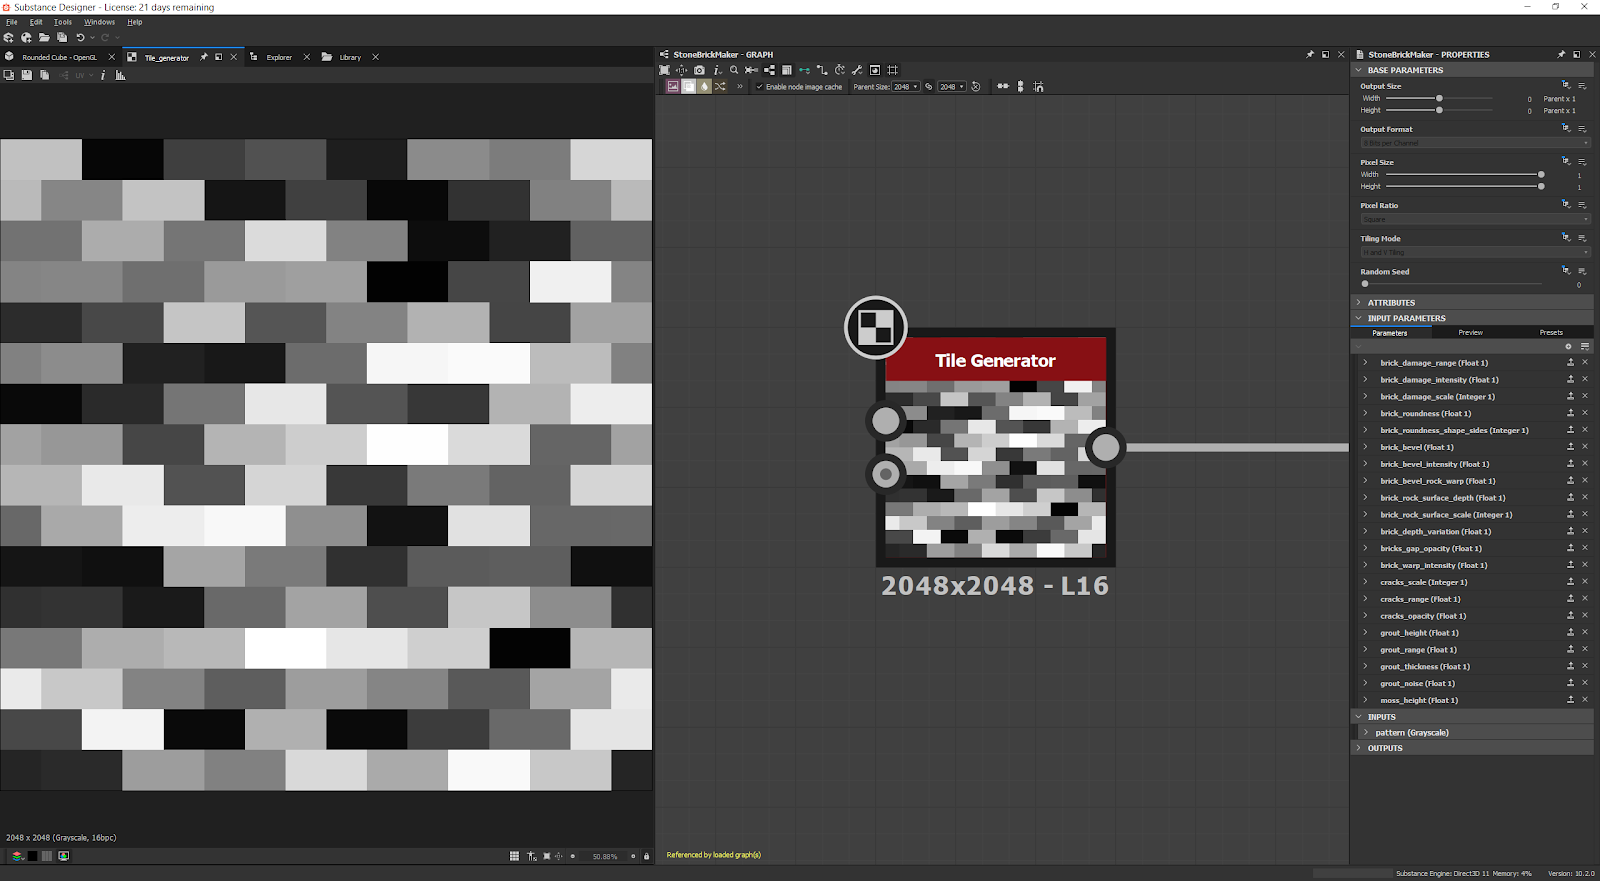
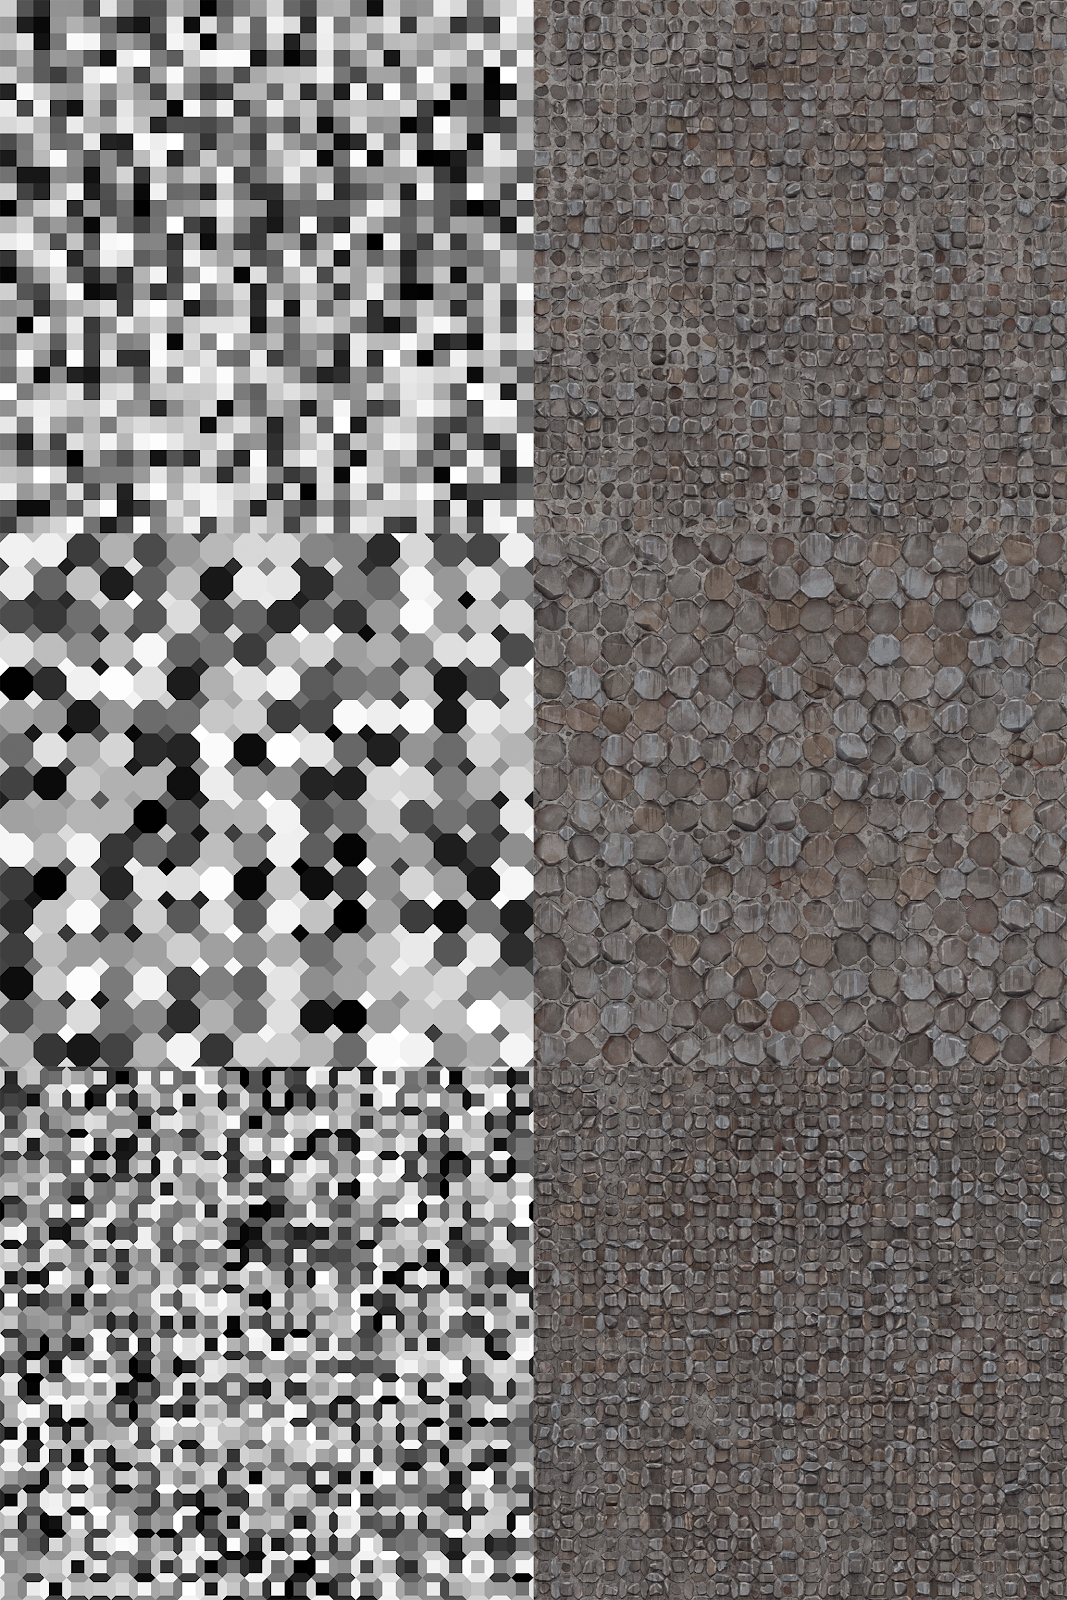
I start a lot of graphs with a simple pattern like this:
From here, I can derive a lot of information, such as edges, which I can generate individual islands from, which I can turn into random gradients….
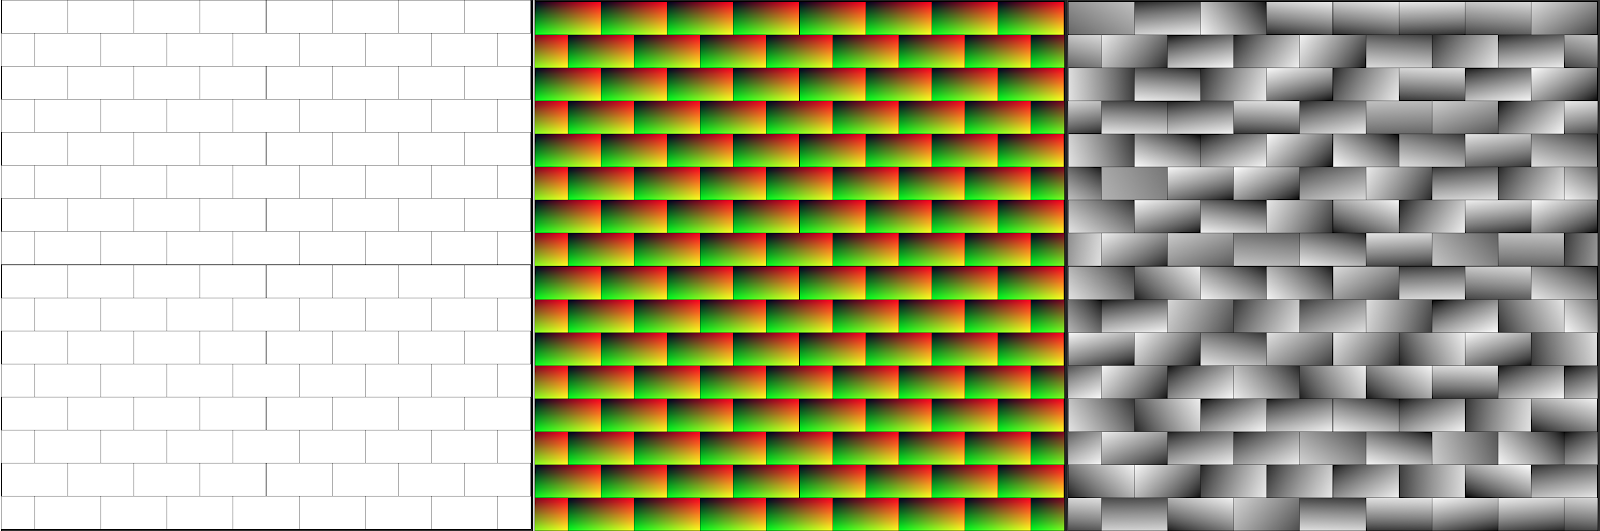
And after layering enough random gradients at different angles and intensities, I can get some lovely large rocky shapes, blend some additional rocky height into it, chop off the tops with some levels…
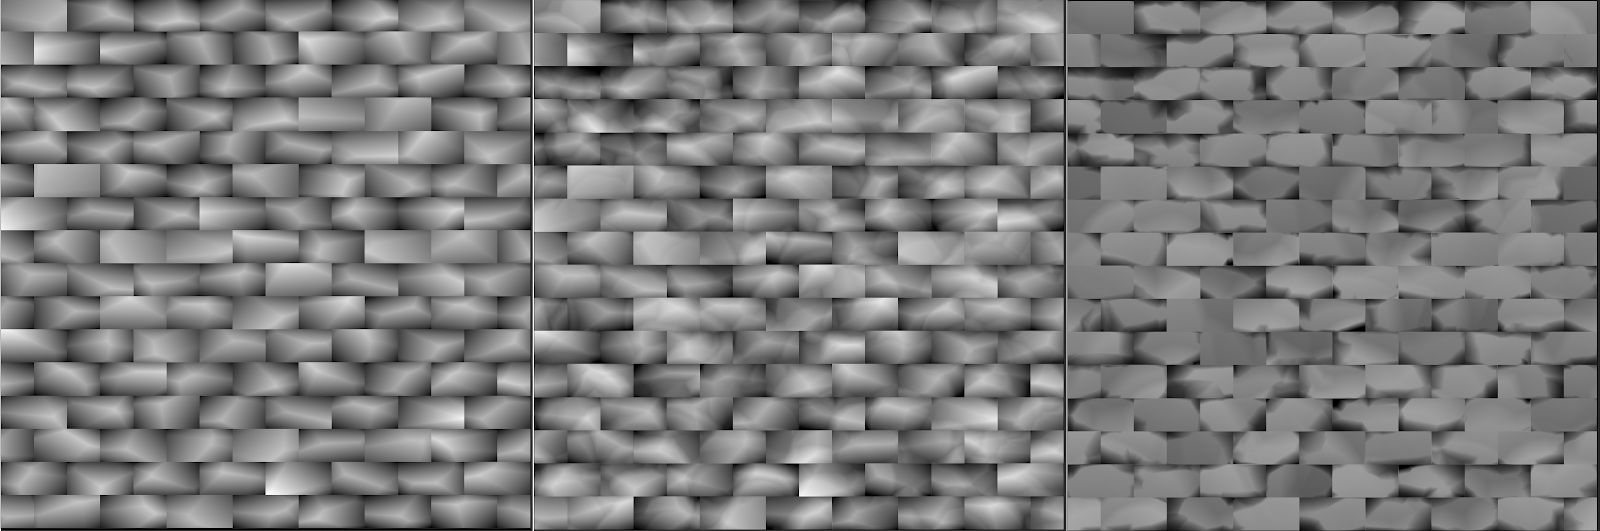
We’re getting something resembling a brick wall.
Here’s a gif of the whole thing through:
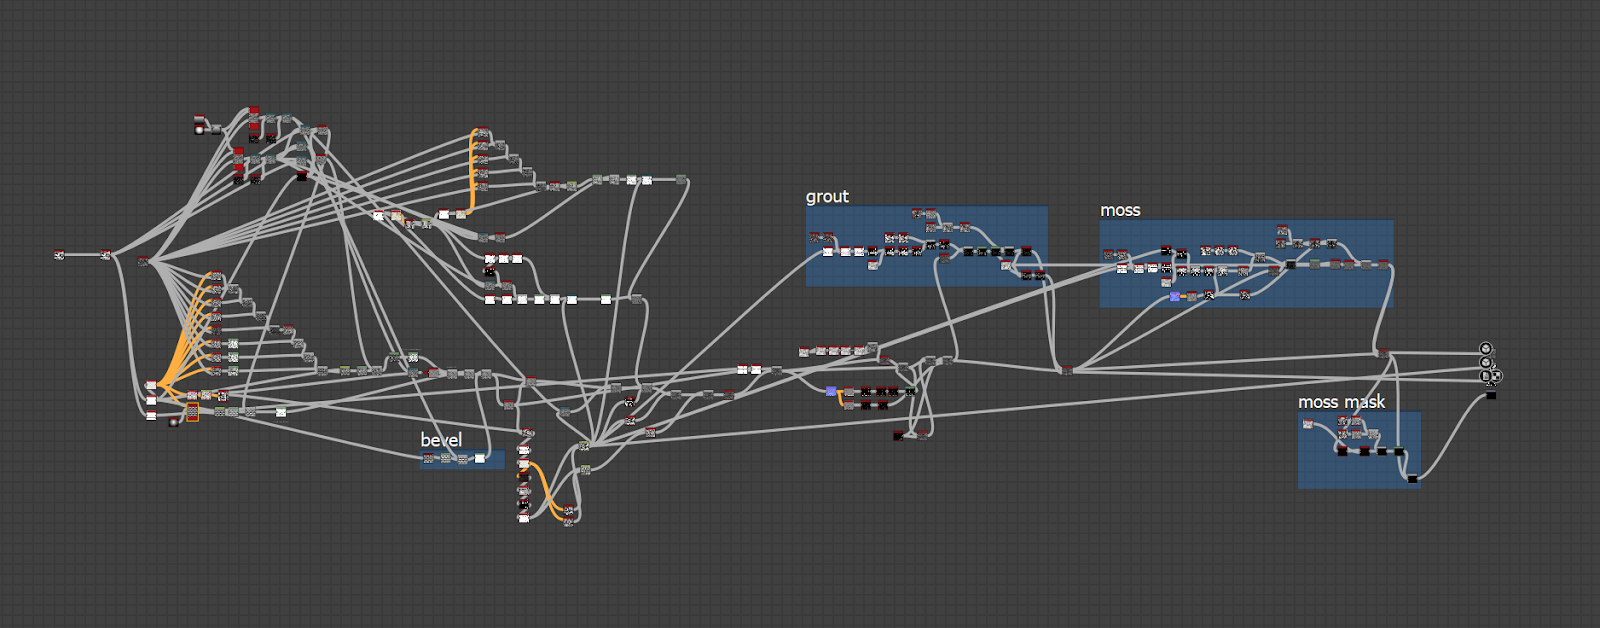
And here’s what that graph looks like, mmmm mmm spaghetti!
It’s worth mentioning that I don’t work blind with just the grayscale height trying to imagine the output, I have a 3d preview while I work.
You’ll notice that I have some OUTPUTs in there, those will come in handy for the next phase: color!
For the sake of brevity, here’s what the color part of the graph looks like:
To explain, I’m taking the height I made earlier, and some of the masks and other outputs I made, and using that information to create gradients, drips, color variation, grunge, edge wear, and dirt. Here’s a gif of what that looks like:
At this point, things diverge from a current-gen PBR workflow: I bake in the lighting. Using the green channel of a normal map I generate from the height, I can mask out the tops and bottoms of the bricks using 2 histogram select nodes. I then use those as masks to blend in a top light color, and a bottom shadow color, with a bit of ambient occlusion on top.
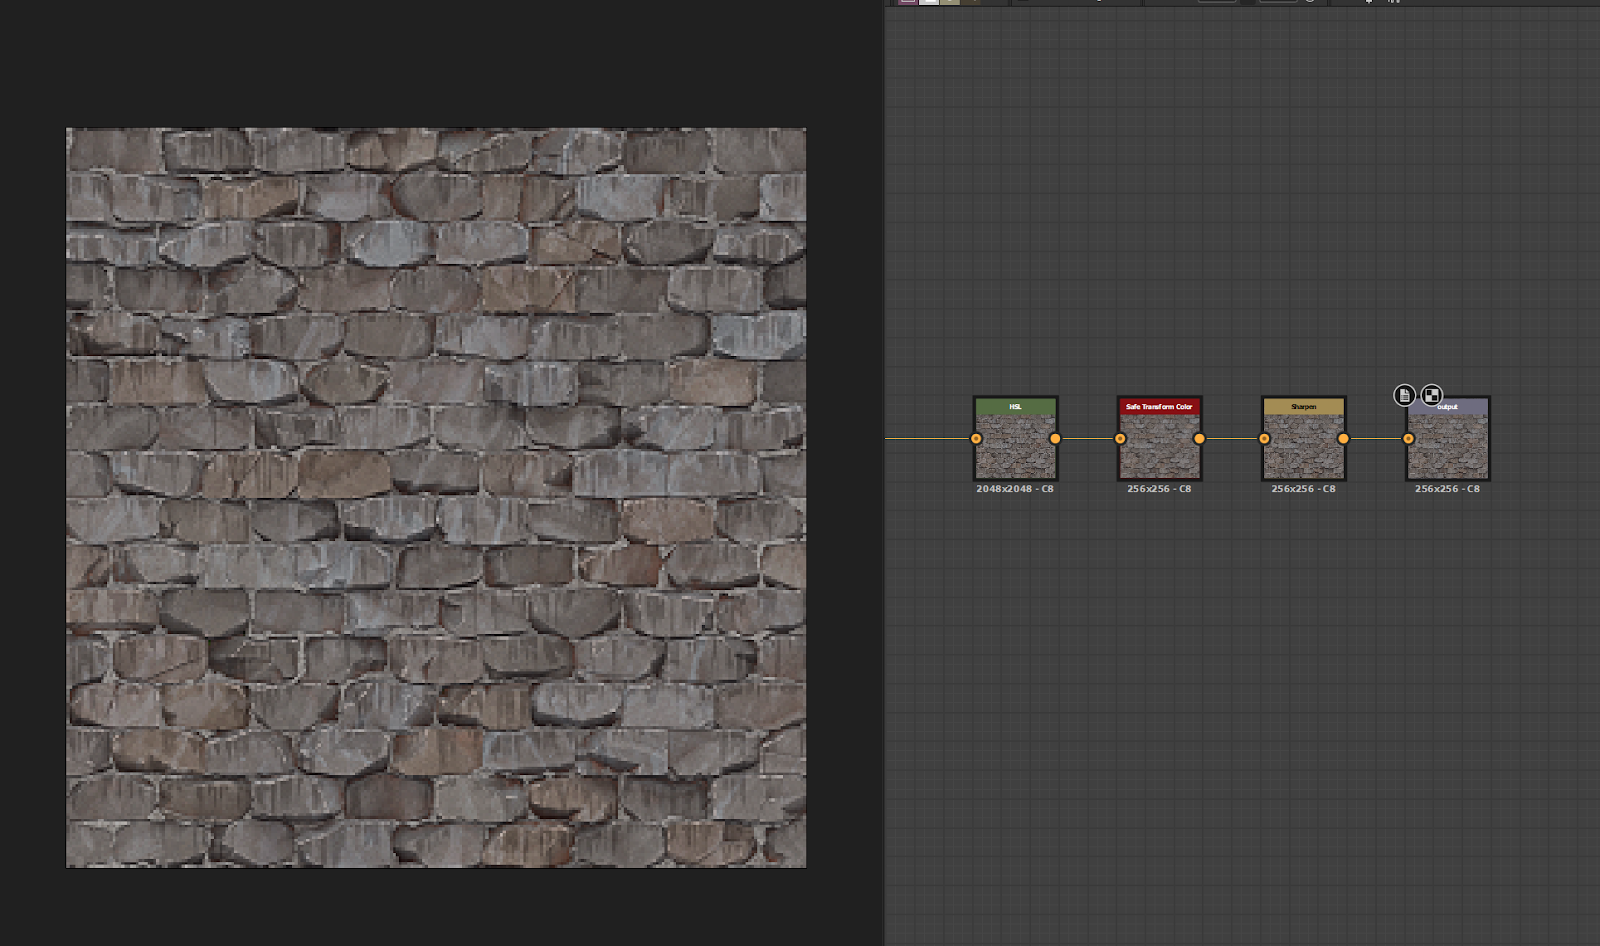
And to scale it down to retro size? This is possibly the laziest part of the whole thing, but the results can’t be argued with. I just down-sample it to 512 or 256, give it a light sharpen filter, a pat on the back, and send it on it’s way.
Okay, so you might be thinking “Ben, this is the most dull and arduous way to make a brick wall texture I’ve ever seen, why don’t you just paint it in photoshop like a normal person?”
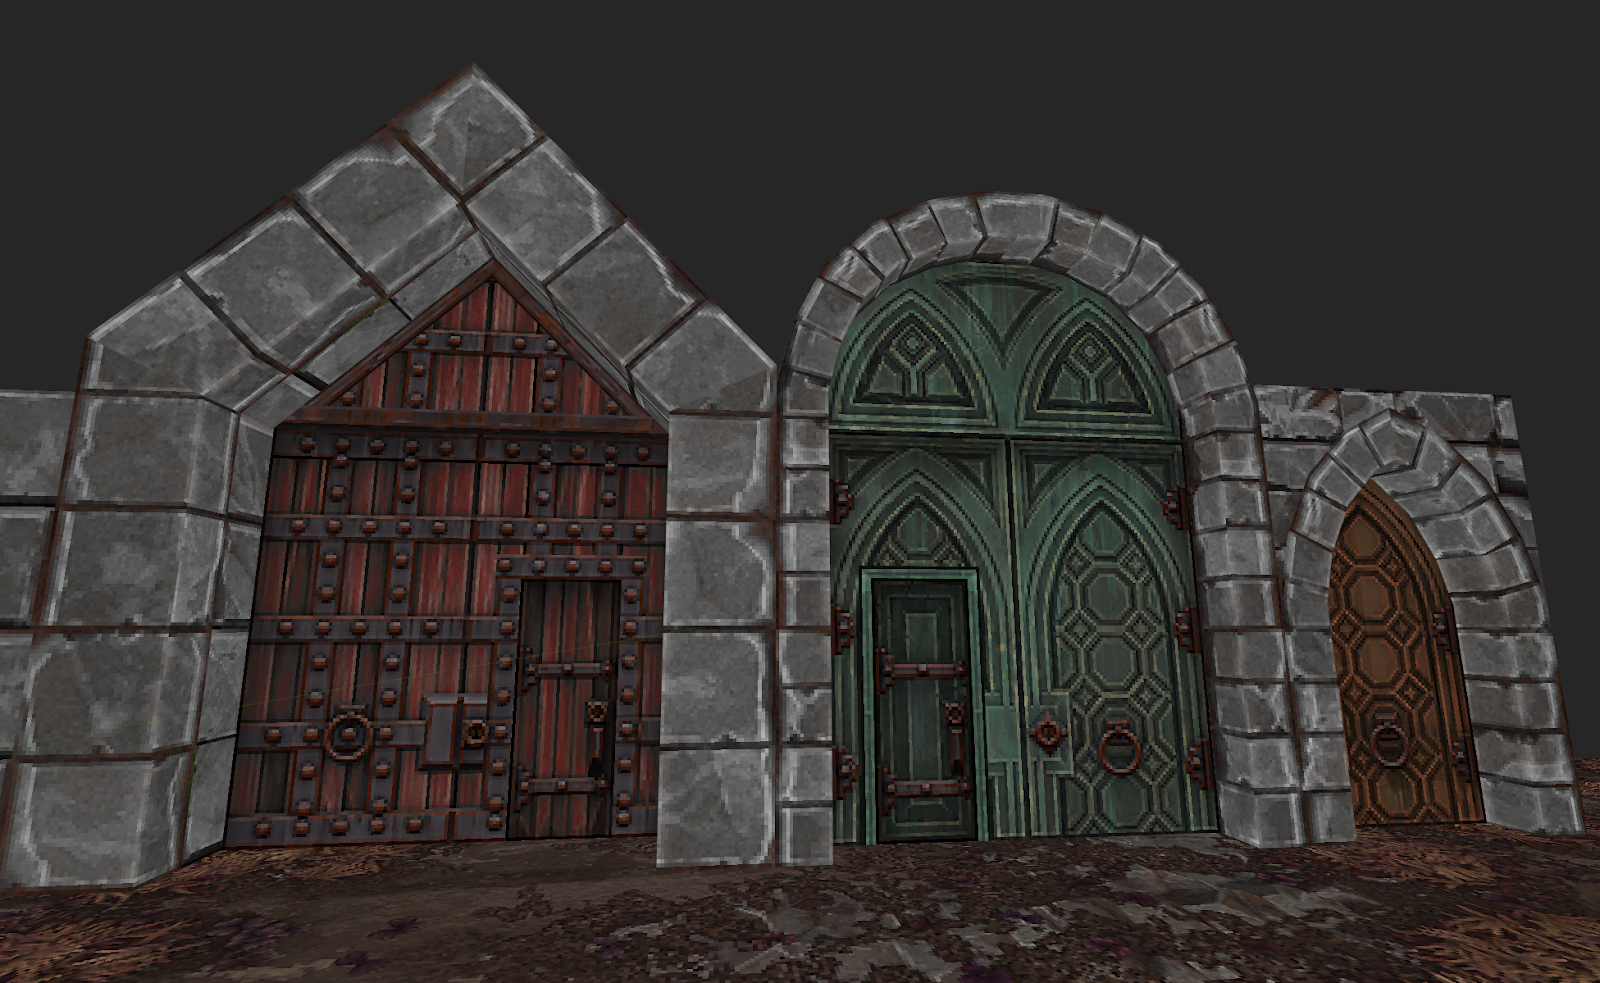
Ahh you see, here’s where the magic starts. Remember that first pattern we started with? What if we just swapped to a different one?
Instant results, new texture, minimal effort. Remember, I only had to do the work once.
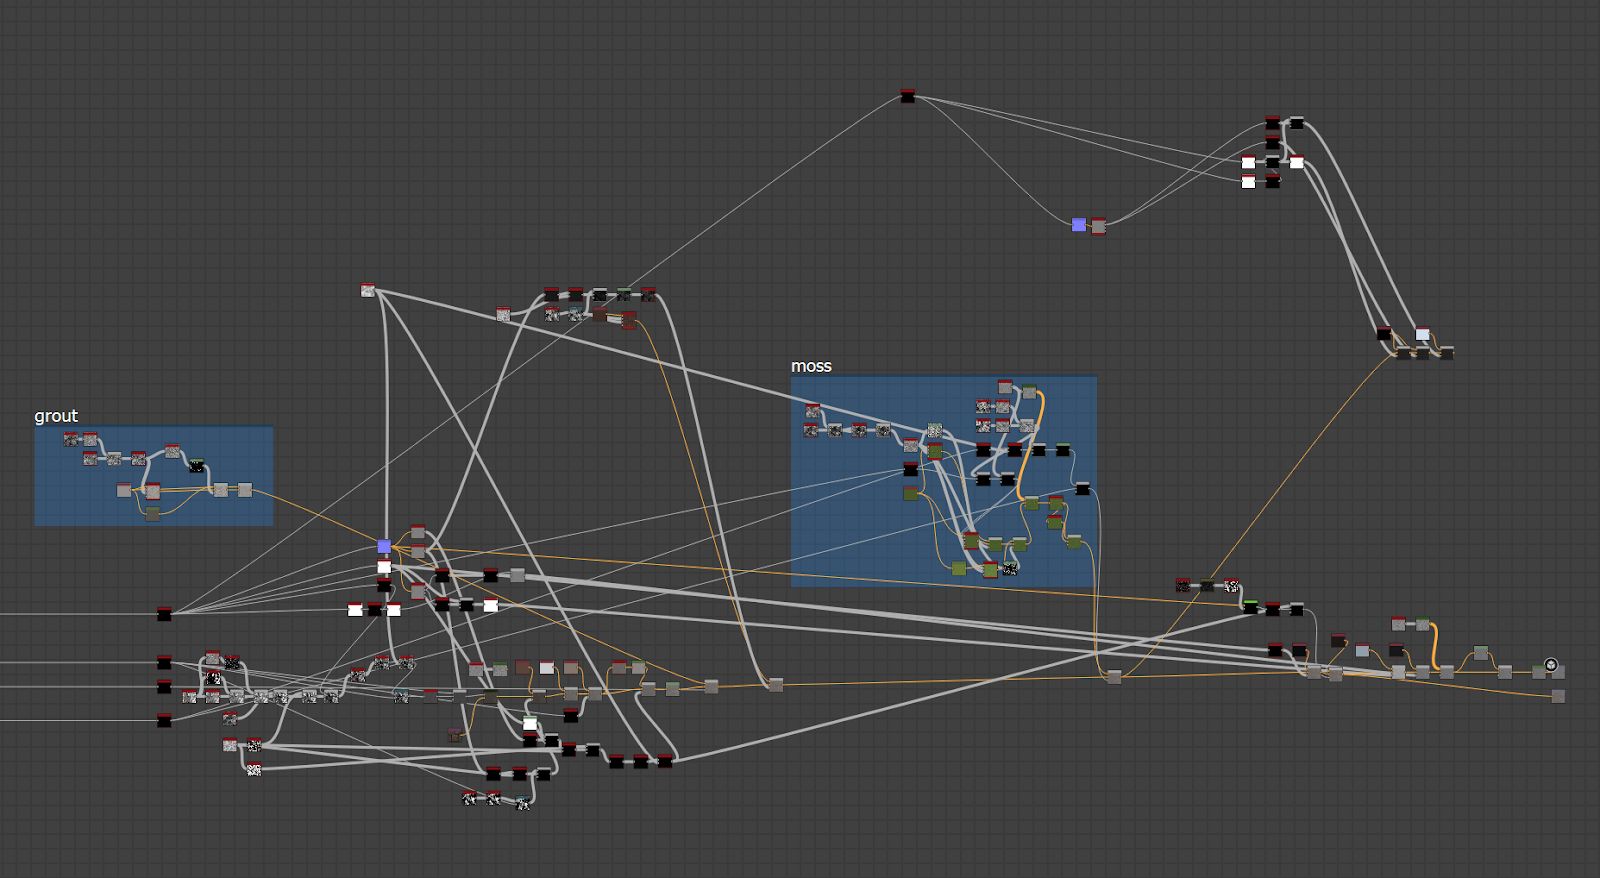
I can do more. I’ve separated the height and color into separate graphs with inputs and outputs, look how clean that is now!
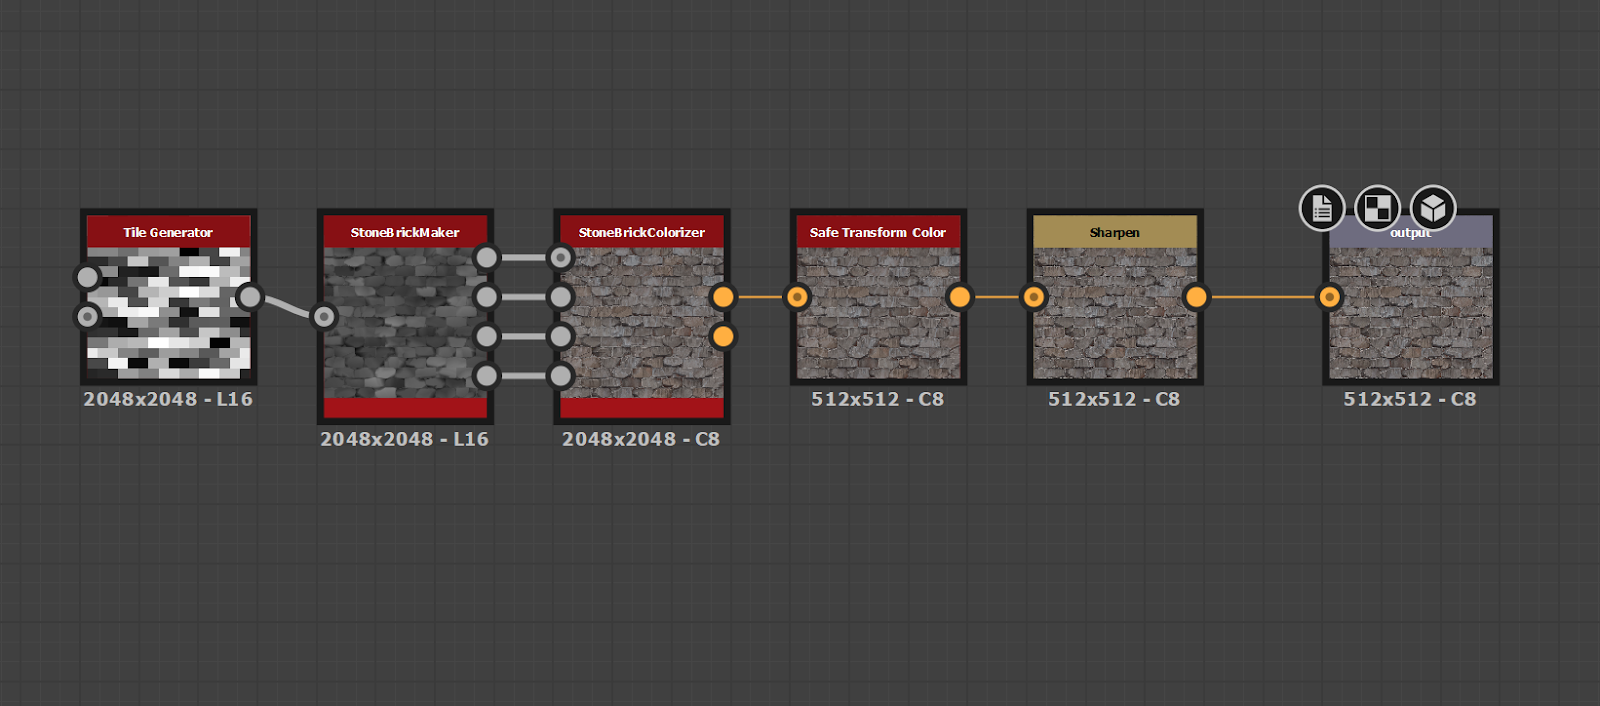
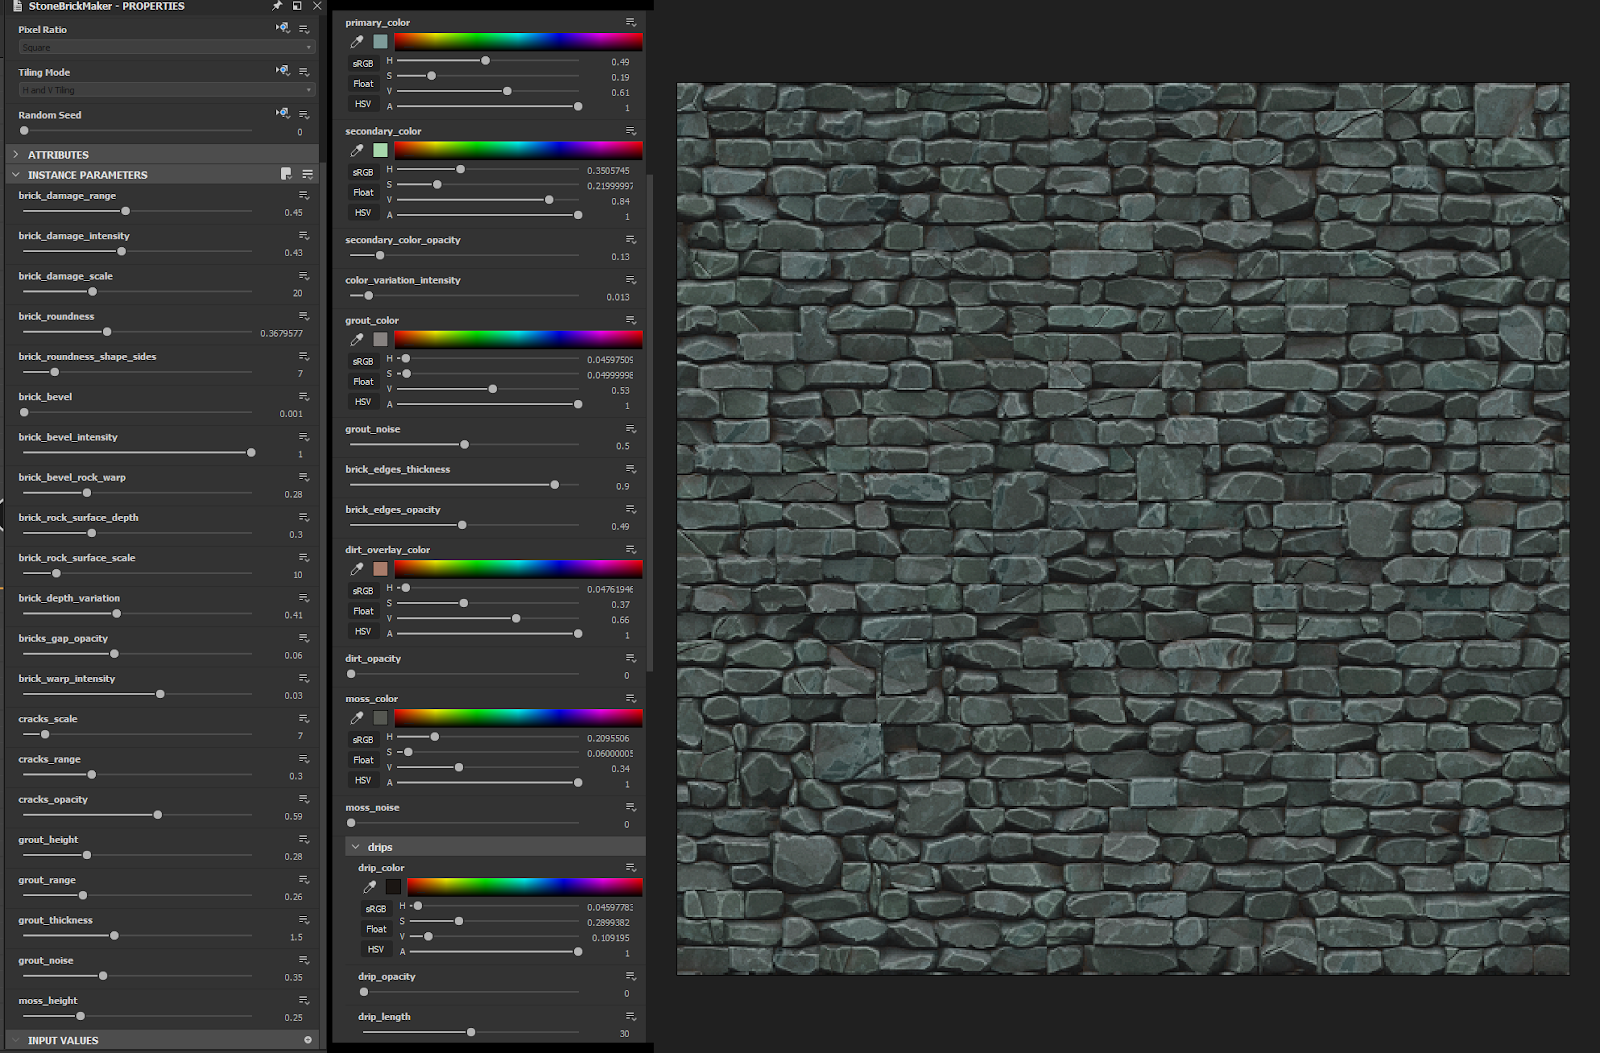
And I’ve parameterized several functions in these graphs to allow me to edit things like brick damage, grout height, brick color, drip length, lighting intensity ect. From 2 graphs, I can make infinite brick textures of all kinds.
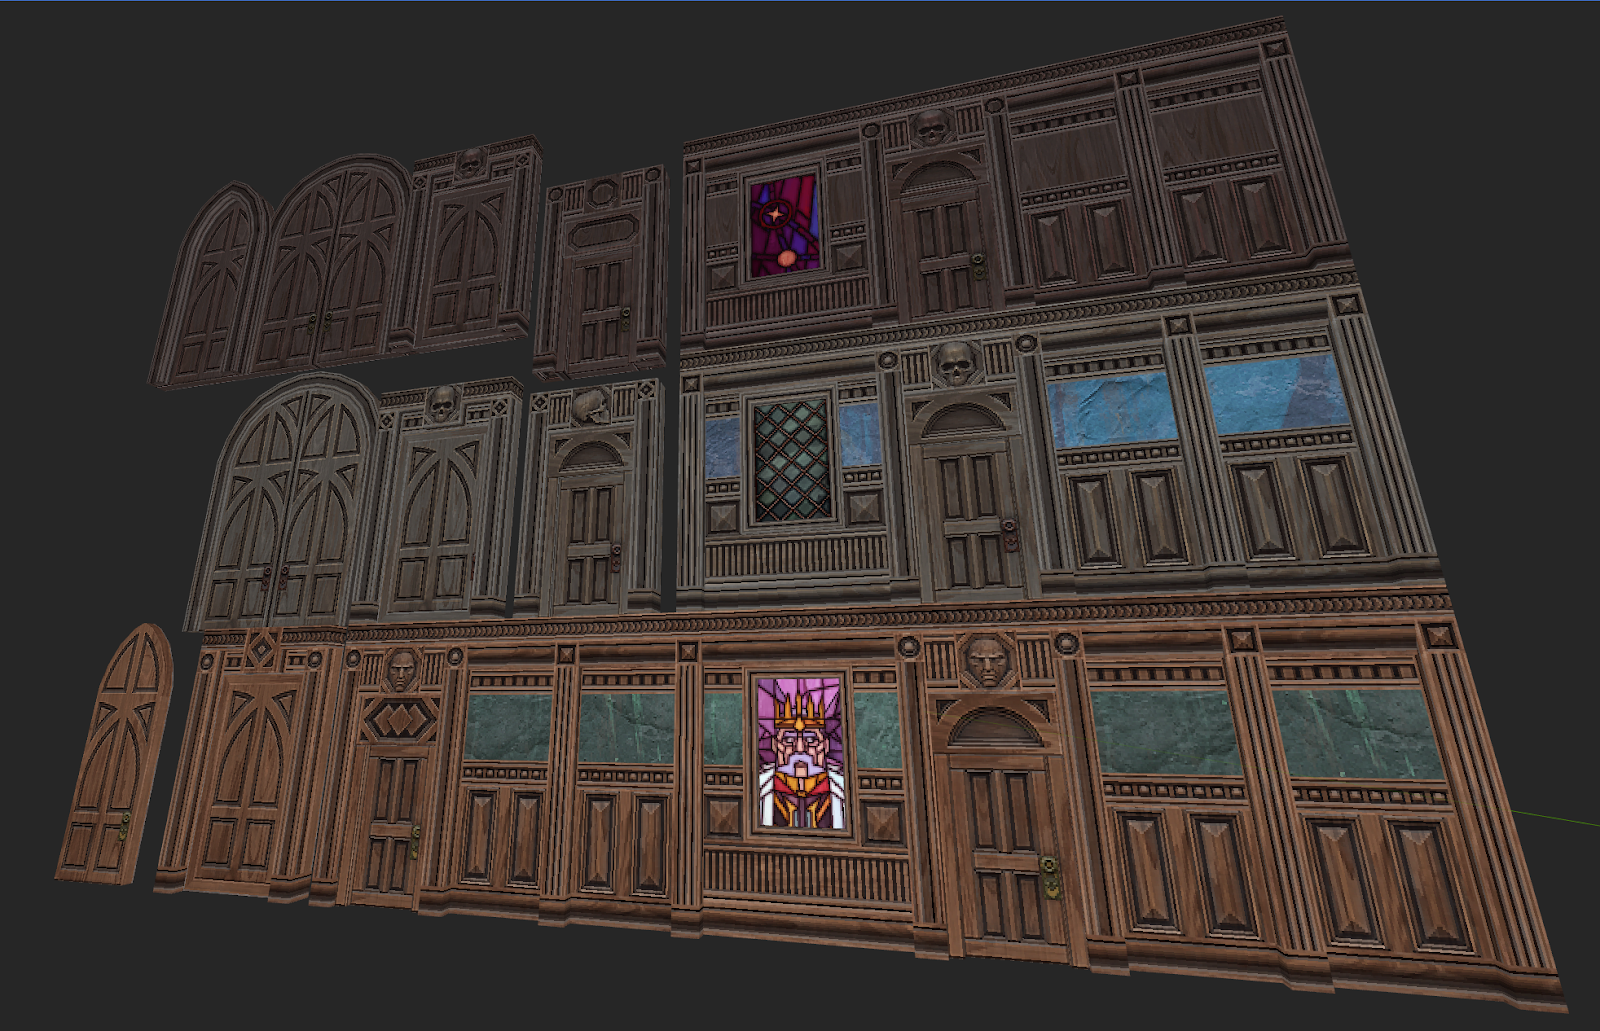
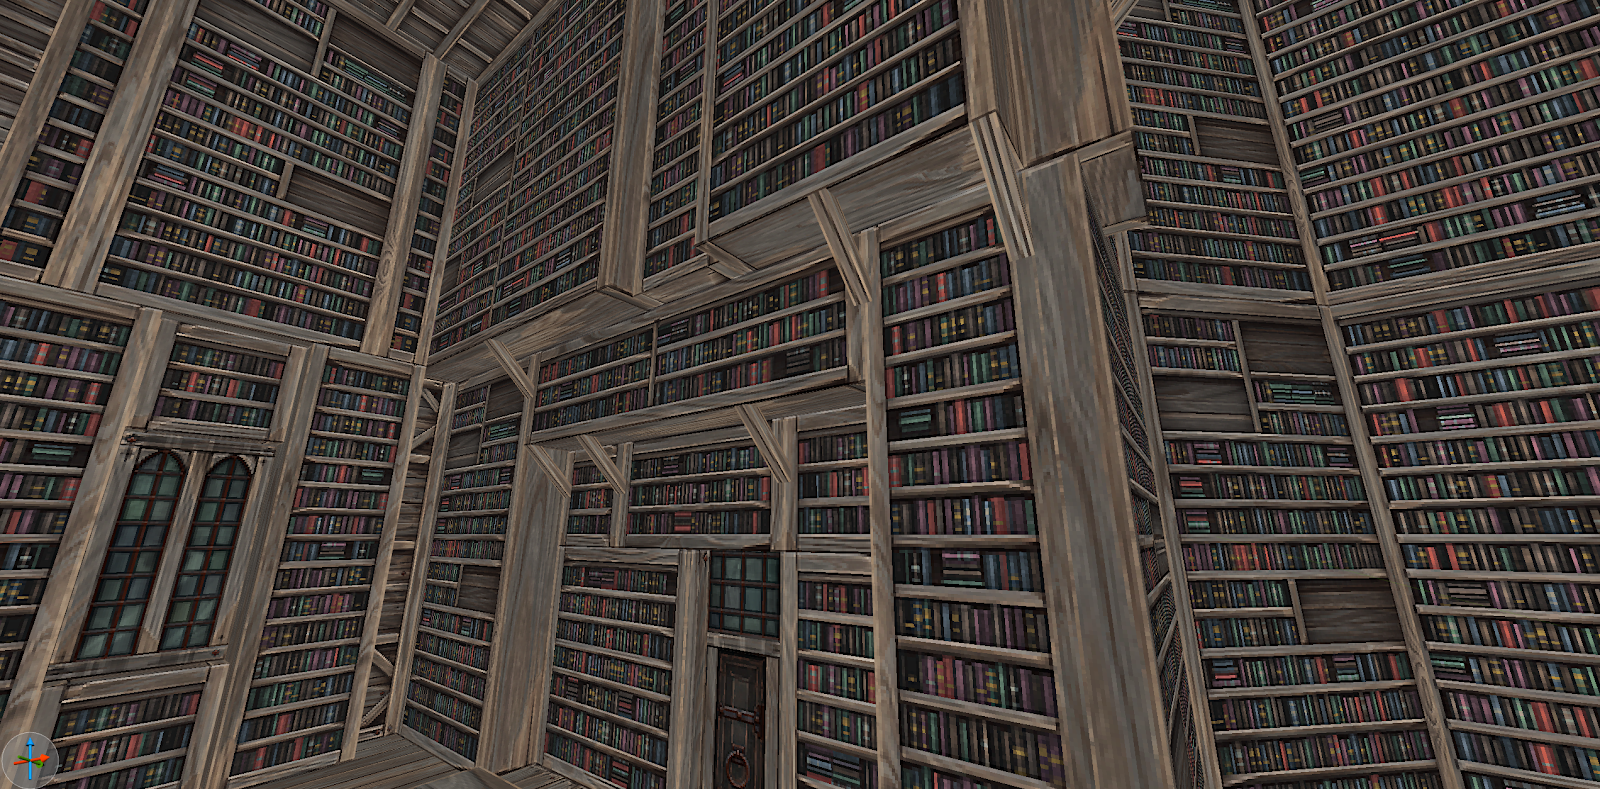
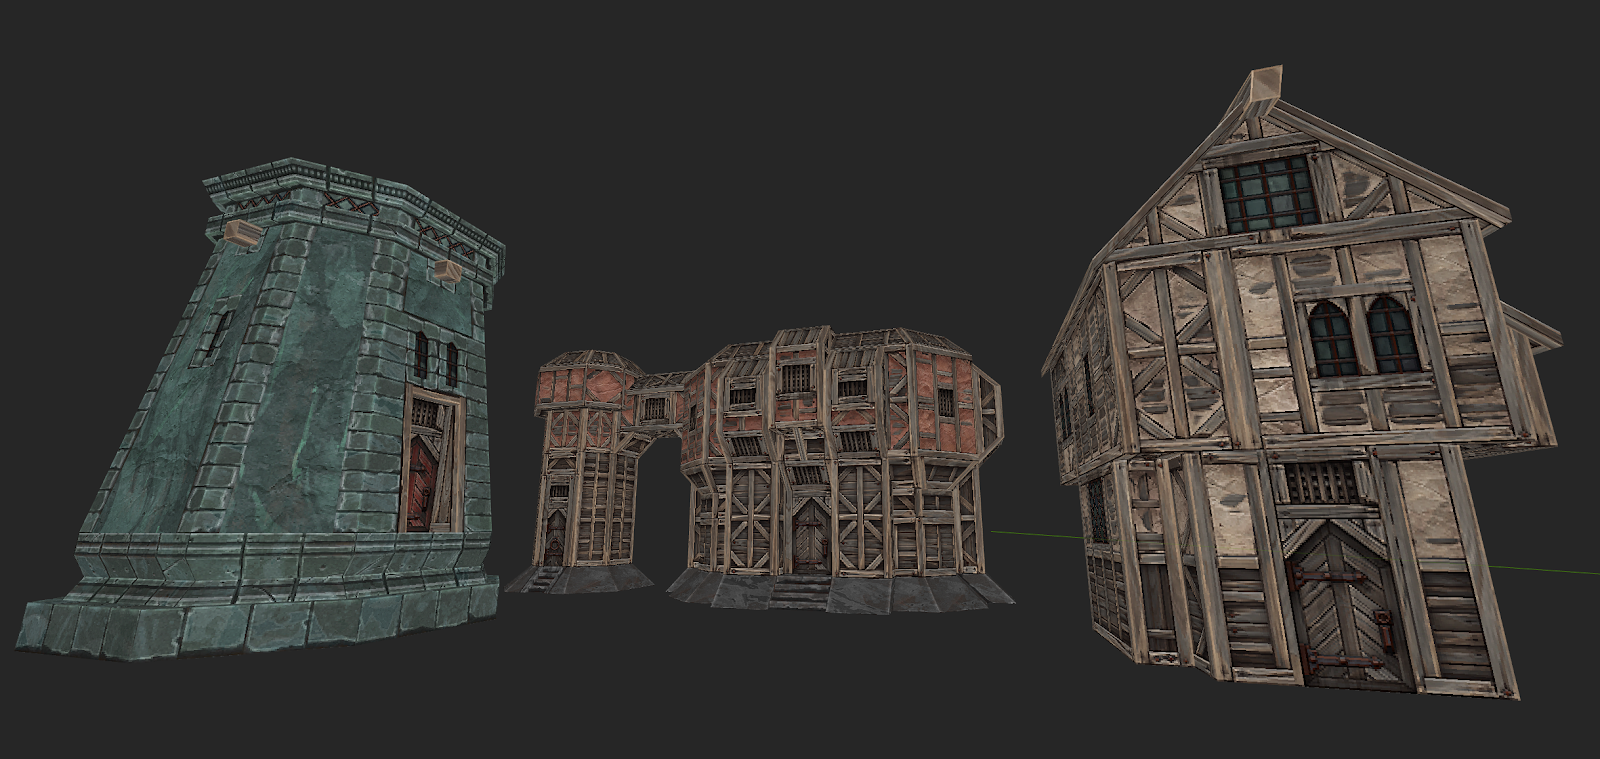
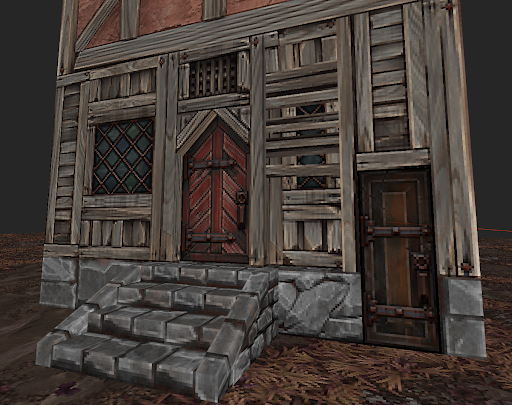
As I’ve worked on Graven, I’ve created many tools like these two. I find myself using them interchangeably to do surprising things, such as making a bookshelf!
Substance Designer has transformed the way I work forever, it’s enabled me to be more productive and inventive than I ever have been in my career. I highly recommend the software to anyone looking to improve their texturing, or to start for the first time!
Thanks for reading!
Make sure to wishlist GRAVEN on Steam and GOG!
Written by Ben Hale.