

Let’s focus a bit on one of the most important bits in First Person Shooter world design: 3D.
Build engine games like Duke Nukem 3D, Blood, TekWar and Shadow Warrior all boasted 3D capabilities and it was all the rage. But like many know, Build wasn’t an actual 3D engine.
What aspects are there to 3D? Here are some of the generation gaps and the importance of height:
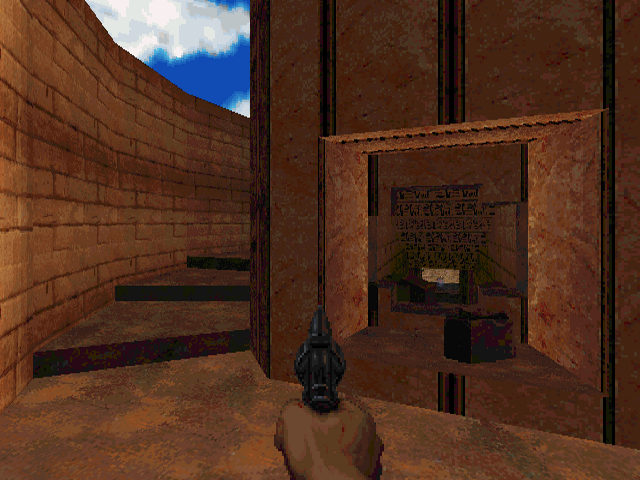
First step - Wolfenstein3D and the birth of FPS genre
Wolfenstein 3D was revolutionary for its time. It shared the core of classic FPS world design: Branching paths and non-linearity. However, game play wise it was still fundamentally a quite limited top-down game with 3D projection and was often hard limited to a single height. Game worlds themselves generally were designed with a tile based editor you’d use for an 2D game. Due to this, walls were limited to fixed widths and corners at sharp 90 degree turns.
Second step - Exploring the limits
Games such as ROTT (Rise Of The Triad) took this further and allowed some rudimentary height differences where designers could now place obstacles which you had to conquer by adjusting your height by using various platforms and jump pads. Some games added 45 degree angled walls, texture mapped floors, outdoor skies, and actual map height variation, although this still often required actual transition areas such as elevators or complete map changes.
While game worlds still suffered from the same limitations as above, developers came up with clever ways to introduce height variety to game worlds, often in cumbersome ways.
Now that action was no longer limited to a single plane the game play was finally becoming 3D.
Third step - Integrating height as a fundamental part of level design
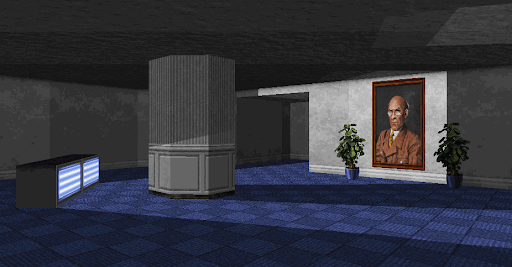
It wasn't until games such as Doom where height became fundamentally inseparable from both game play and world design. Now you had stairs, pillars, various branching alternate routes, elevators and hazards on different levels. It was a game changer. Around this time is when designers started to experiment with clever visual tricks such as parallax skies. With some care you could fool the player into thinking that buildings had rooftops or other technically impossible architecture despite those not existing. However, one big limitation still lingered: rooms and alternate paths could never overlap. While Doom games worked around this limit by forcing the player to run over various "intersection pits," the player still couldn't “jump! Ascending always happened by a set of stair steps or elevators. Still an excellent game and its immense success guaranteed that various "Doom clones" would start to emerge with a common goal: To be more ambitious than the one before. This included Build engine games.
The Build Engine
When approaching 3D in Build, you could split it in to following parts:
Sectors - Create rooms, stairs, balconies for enemies etc... could even be sofas, tables or cars! With sloping you can do much more believable objects than many engines of the time.
Sprites - No longer just player facing objects but also as wall or floor aligned flat objects. By combining these you can create rudimentary 3D shapes with with few unfortunate drawbacks. You can combine these with sectors to enhance the visuals.
Shading is very flexible and any floor/wall/slope/sprite can be individually shaded or palette swapped to create numerous variations and make objects really pop out.
Voxels (Volumetric pixels) Available only on later versions, these are essentially 3D sprites.
So what makes Build so special ? The biggest "3D" was that finally you could do overlapping sectors, which resulted in intersecting paths and overlapping areas referred to as SOS (Sector Over Sector). Still, there was one severe limitation: These sectors could never see each other at the same time! This did still allow vertical branching paths for the first time, you could submerge underwater, have sprite based platforms that could form solid looking floating objects that the player could jump on, air ducts, and staircases.
But that’s not the craziest part: Build is actually portal based and non-euclidean! Unlike typical approach with visibility at the time, the engine only cared about which sectors the player could see at any given time. Any sector boundary was essentially a portal to another sector. Visibility calculation was done in real time and this not only allowed everything to be completely dynamic but also nearly anything from rotating gears to moving trains to be built. One lesser known side effect was possibility for impossible geometry that could happily overlap even on the same coordinates as long as both areas weren’t seen at the same time. For more on how the engine treats visibility, there is an excellent article by Fabien Sanglard that explains this in detail: http://fabiensanglard.net/duke3d/build_engine_internals.php
Due to the myriad of options, vertical interconnection and overlapping areas ended up being a staple of any good Build map.
Some examples on how developers got around this limitations with overlapping areas:
 |
 |
 |
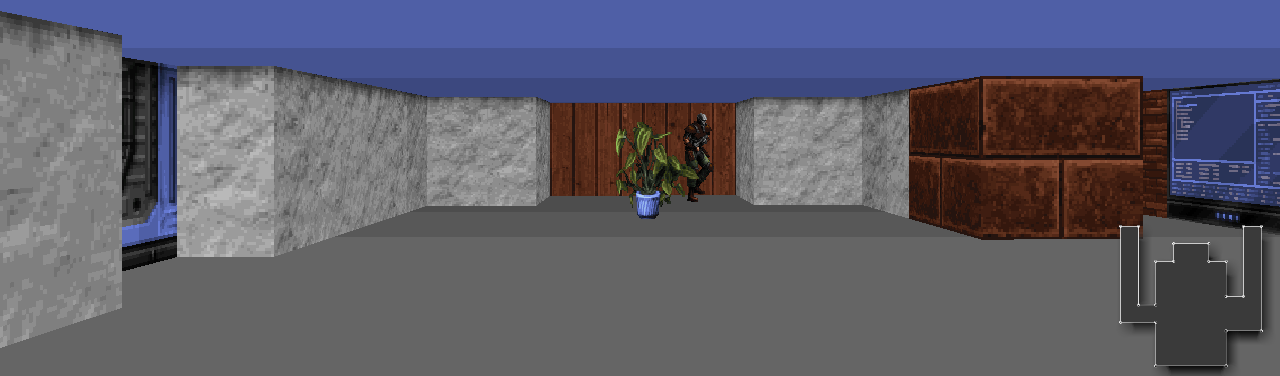
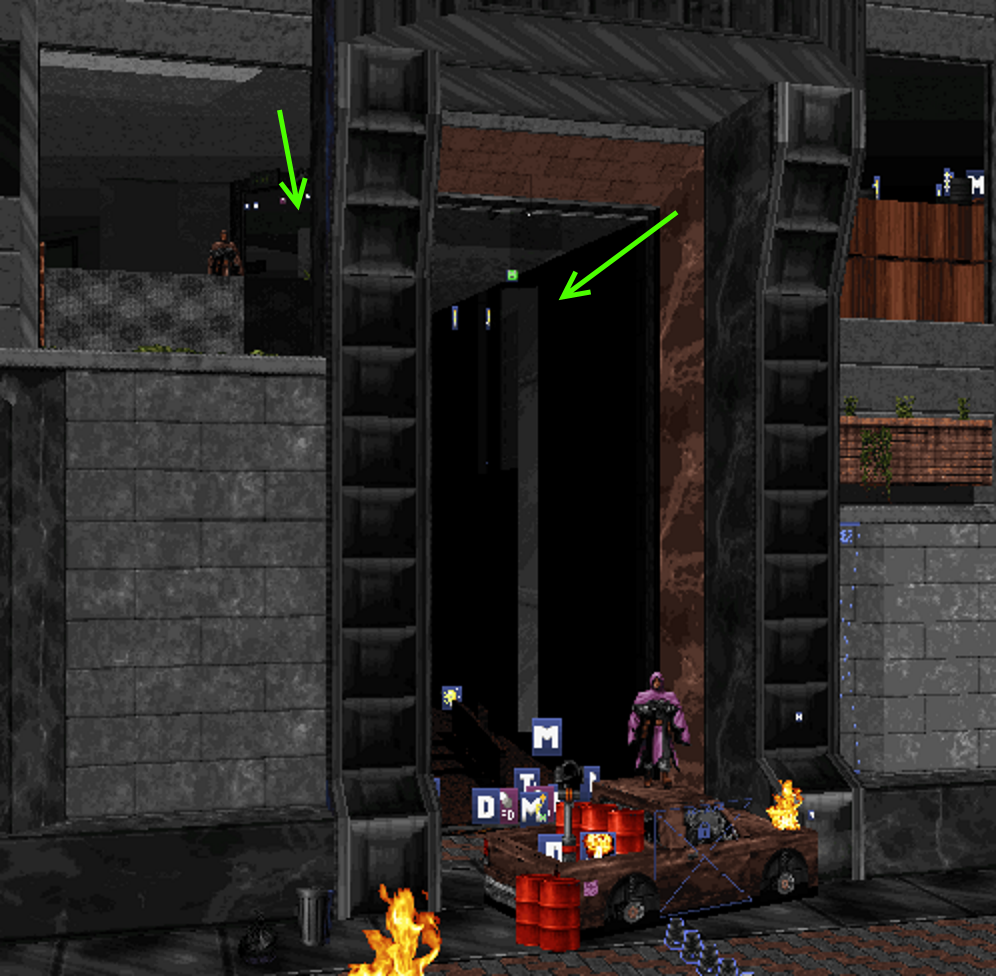
(Left) Stairs that overlap a tunnel. Visual blocking in the middle ensures that you never see any overlapping parts at the same time. - Powerslave / Exhumed MAP01
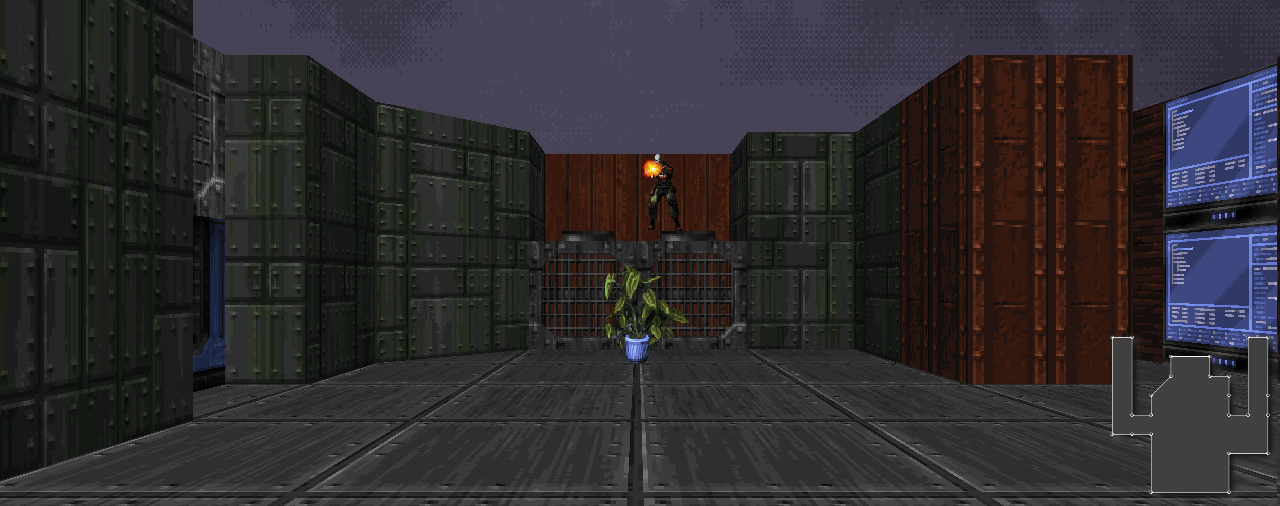
(Middle) Same as above but squeezed to a bare minimum visual overlap block. Granularity for what gets considered as overlapping is determined by the sector size (each step) - Duke Nukem 3D E1L1
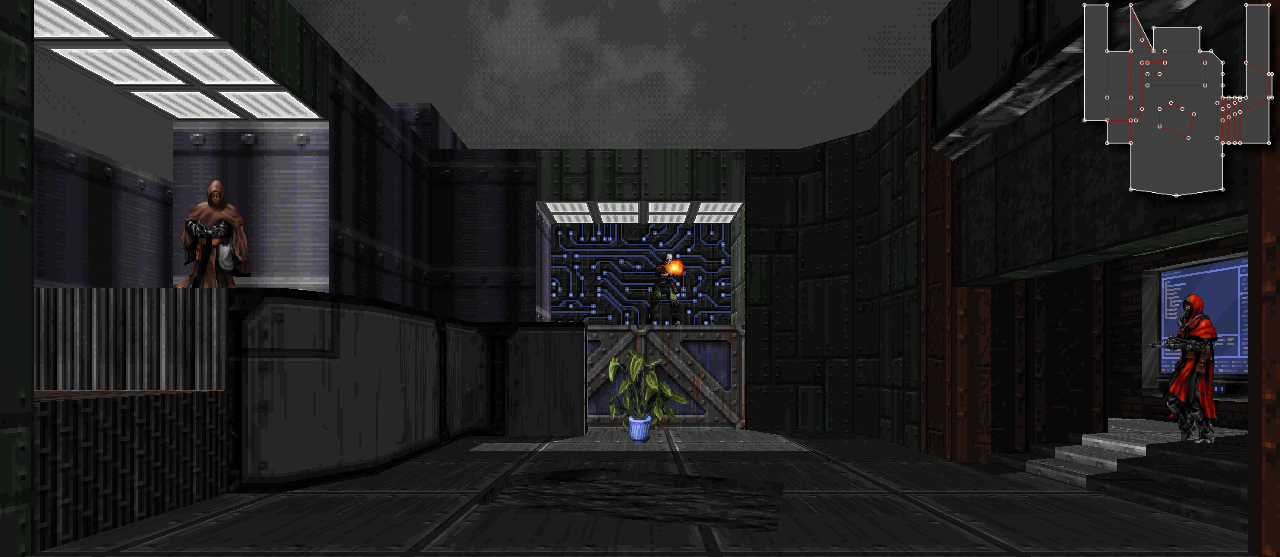
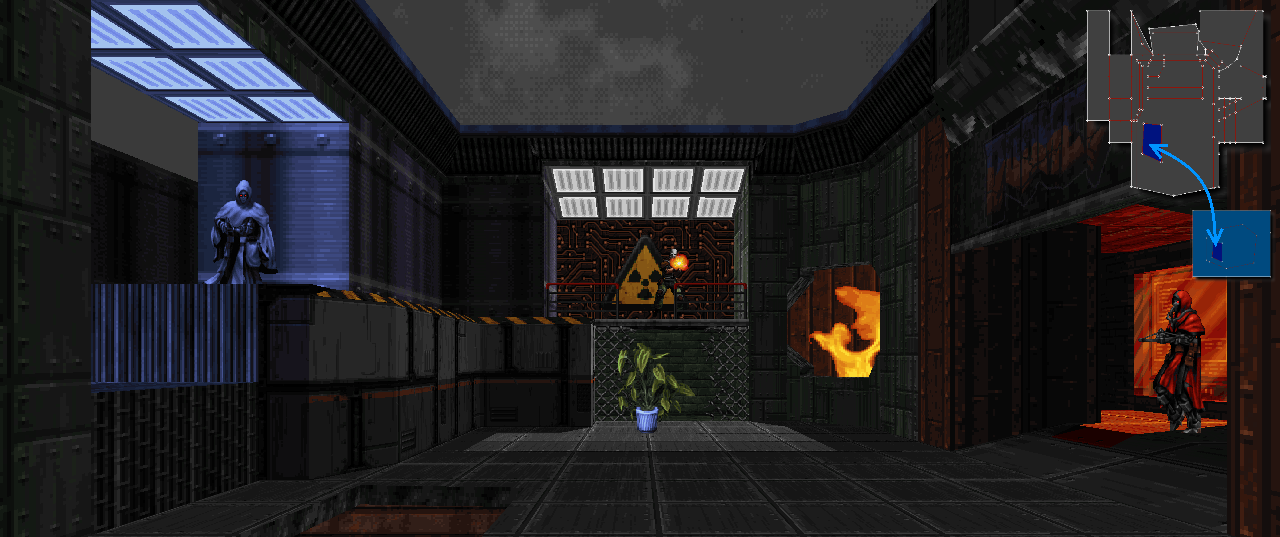
(Right) Impossible geometry with a 720 degree loop. Despite being able to see both of the areas from the middle, it still works. This shows that height changes are optional and the only thing that really matters is whether sector boundaries overlap or not. - Duke Nukem 3D E2L11
Some later game developers did go further by coding in their own ways to bridge the missing 3D gap by allowing you to see these overlapping sectors at the same time, referred to as ROR (Room Over Room). Despite common belief, ROR was never a feature of Build. Each game developer did their own take on this by utilizing clever projection hacks and these often came with their own limitations that the mapper had to design around.
 |
 |
 |
Later Build games featured ROR. This really helped to enhance visuals and game play.
Shadow warrior (Left) Blood (Middle) Redneck Rampage Rides Again (Right)
Build is a strange engine, by looking at the games it seems like you can do a lot. Then you study it more and realise that everything is still practically 2D drawings on a paper and it seems that you can’t do anything cool with it, until you learn it even more and realise that it's actually a pandora's box. This extreme flexibility is what keeps many coming back to Build mapping. So what tricks do we utilize to make the world look more “3D” ?
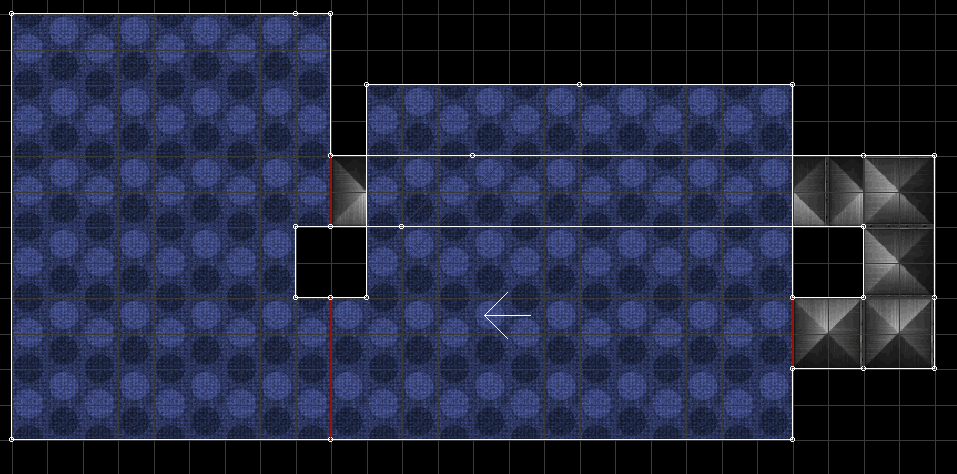
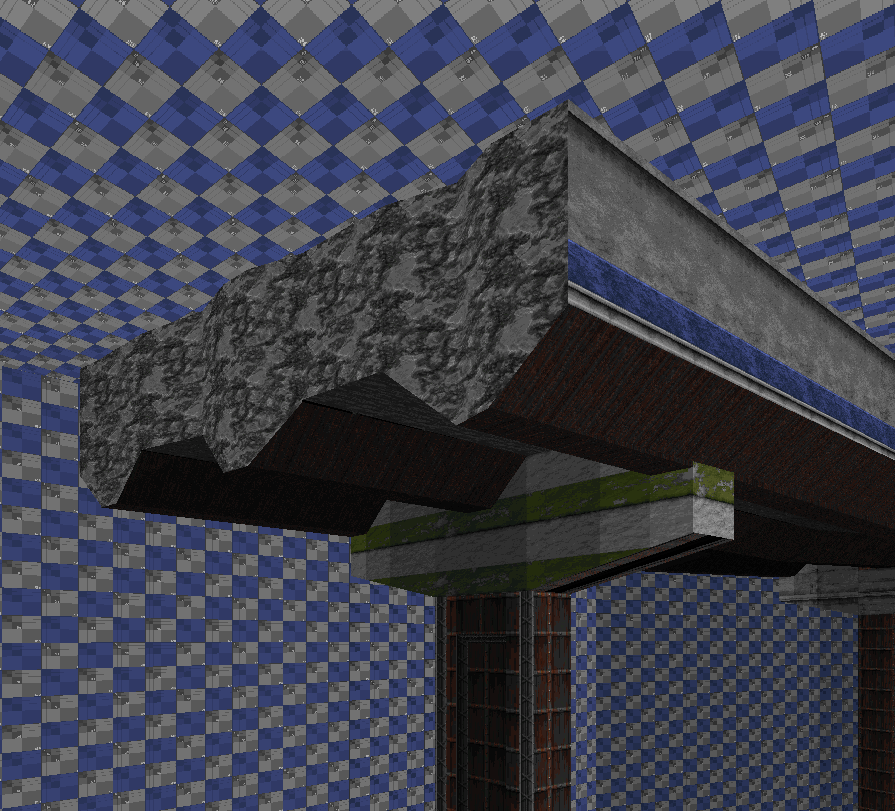
Diagonal pillars
You might have seen in the preview campaign and something that many level designers love to do. It heavily uses the sloping feature of Build engine to create diagonal shapes that you’re more used to seeing in more modern engines
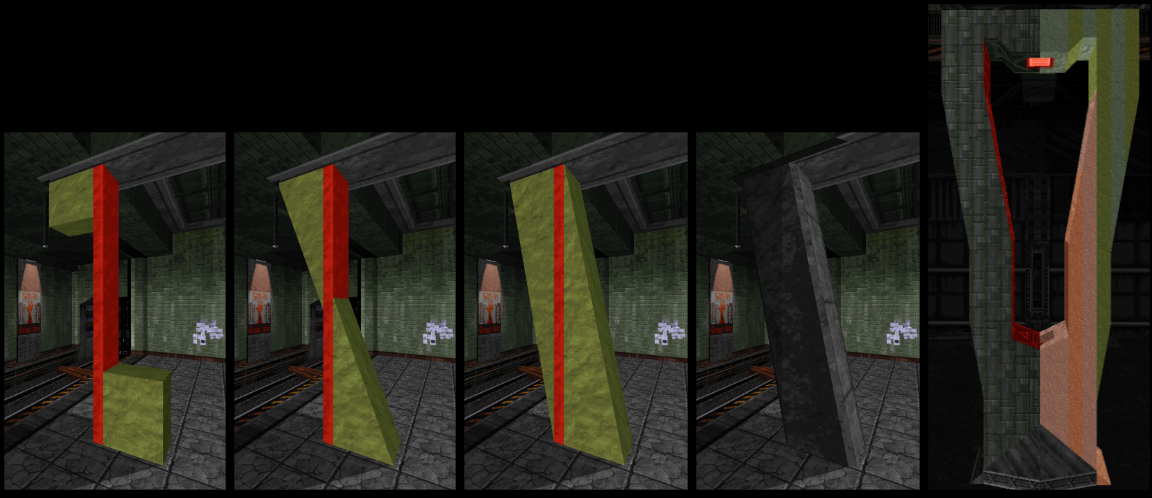
From left to right:
(1) We will start by creating two rectangular sectors, shown as green. Red pillar in the middle acts as a filler to give us a better overall shape.
(2) Add some basic sloping, with a handy script we can easily copy the slope to the other side
(3) Make the triangles fill the sides of the red wall and you end up with a diagonal pillar. This is where the filler area also helps with padding out the dimensions to make it more rectangular
(4) After some extra shading and smoothing out the corners, you end up with one damn fine looking diagonal pillar!
(5) Bonus: This is an example lifted from the very start of the Preview campaign. Green parts represent lowered ceiling and brown parts are raised floors.Without any red in the middle, both parts have to work together in tandem to form a sensible diagonal shape.
Overlapping areas
There are quite a few of those in the Preview campaign, here is one from quite early on:
 |
 |
(left) If you look closely, it looks like the tunnel definitely goes under those offices and it sort of does, but actually great care was done in order to make sure that neither area ever gets drawn at the same time due to the strategic window placement. This is another case of “just enough” to prevent any overlap. (right) Let’s remove some of those safeguards. By ignoring the areas that the tunnel’s ceiling blocks and the windows, you will start to see some weird things as the engine is deperately trying to render both areas at the same time, commonly referred to as “SOS glitching”
Building these cool overlapping areas comes with its own challenges other than just avoiding simultaneous visibility. Due to Build still being fundamentally like drawing on paper, any overlapping areas end up being drawn of top of each. What this means is that there are no other perspectives such as side view available for the geometry creation, it’s all top-down 2D.
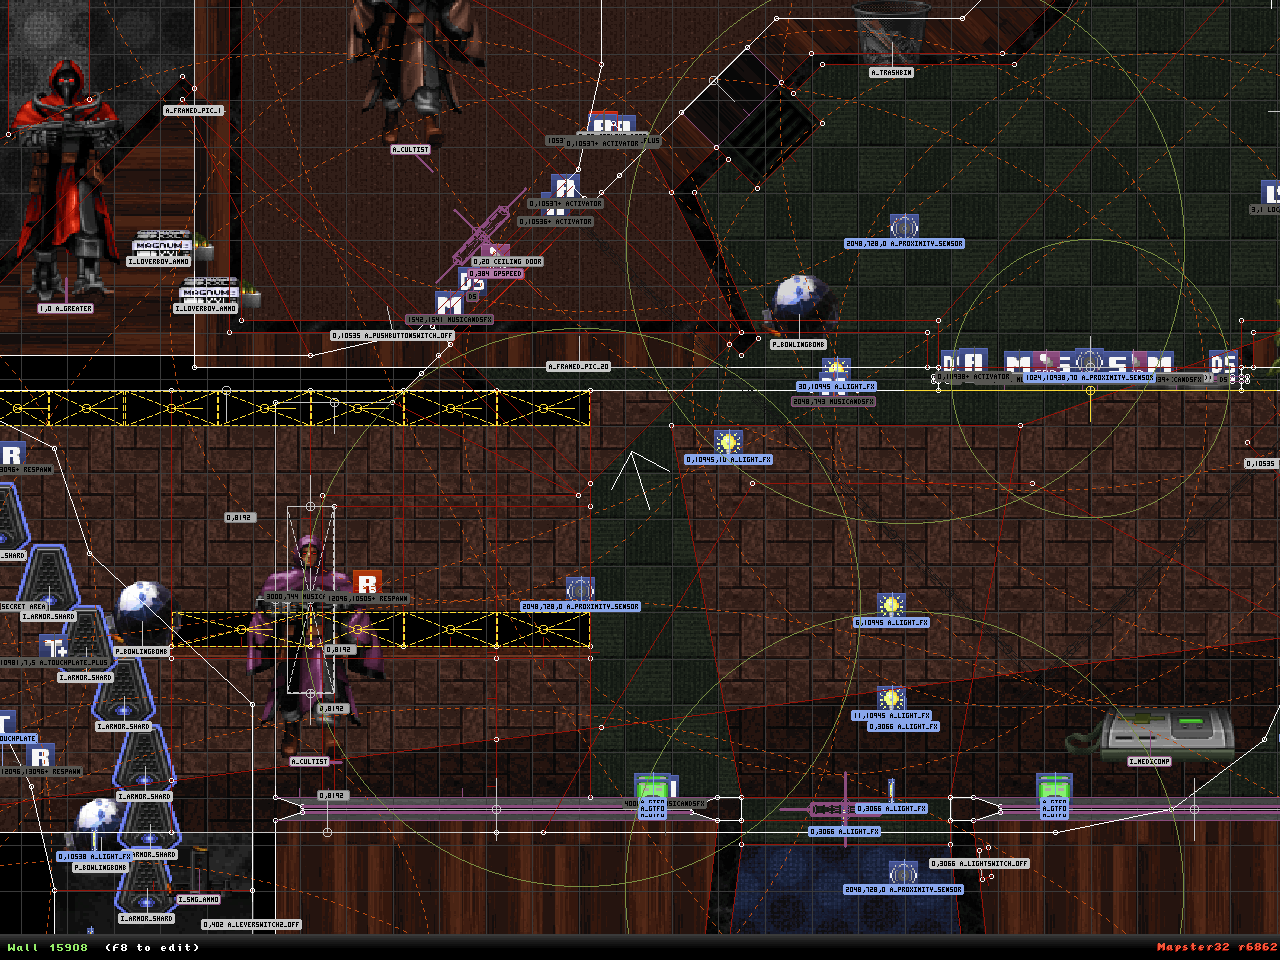
Opening a map with overlaps with the editor can end up looking a mess!
 |
 |
Visibility is determined by sector shapes that the player sees.
Red lines are walls that act as sector boundaries for portals
You need to make sure that the player never sees any sector overlap
How we approach this is to first create the basic shapes for overlap (left) and make sure that there is no SOS glitching present with the bare minimum sector splits and visual blocks.
After that the overlapping part can be relocated away from play area and detailing for both parts may begin (right). It’s important to keep the “welding bits” intact so that it can easily be placed back for any actual game play testing. After some practice even complicated areas can easily be managed and typically, even 3-4 layer constructs are manageable.
It’s recommended to keep a working copy with separated parts and have another copy for actual gameplay where the parts get combined. While you could do nearly seamless SOS with a huge amount of red walls, each split still acts as a portal and it will increase visibility calculation. At most a map can have 16384 walls.
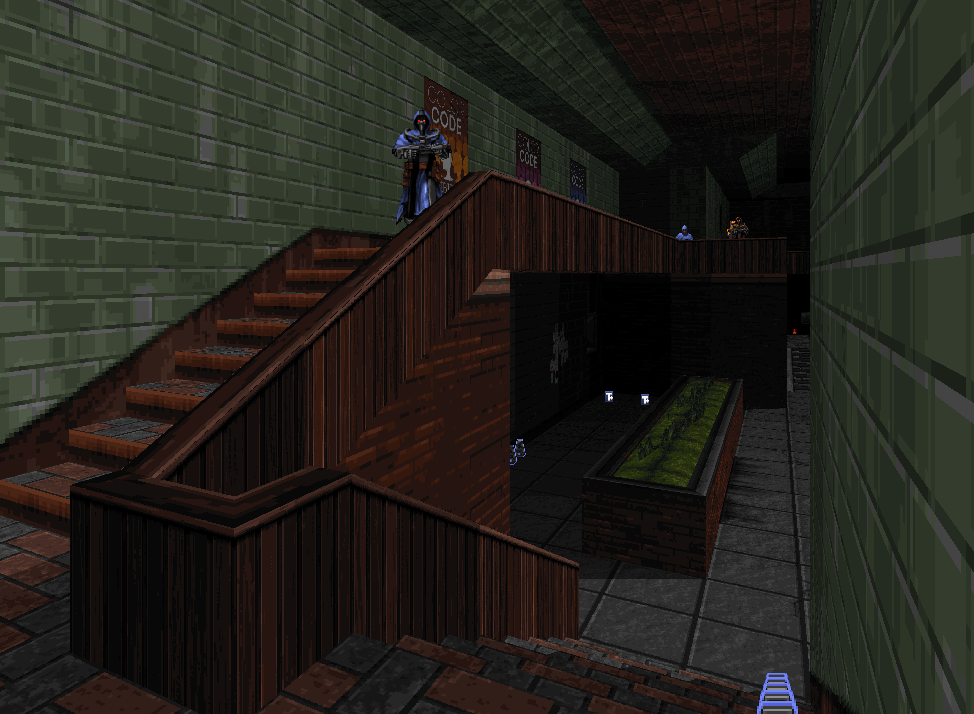
A word about sprites
There is a lot of advanced sprite platform use throughout the game and a lot of effort goes in to finding the correct look that doesn’t glitch out. We could actually get around a lot of these limitations by ditching classic 8-bit rendering but where’s the fun in that?
New to the table are clip barriers, which get used quite extensively along with sprites to guide the game with it’s rather lacking sprite collision code. While things cans good on the surface, the game has a tendency to automatically lift the player up on pretty much anything that is shorter than the clip barrier itself seen here.
 |
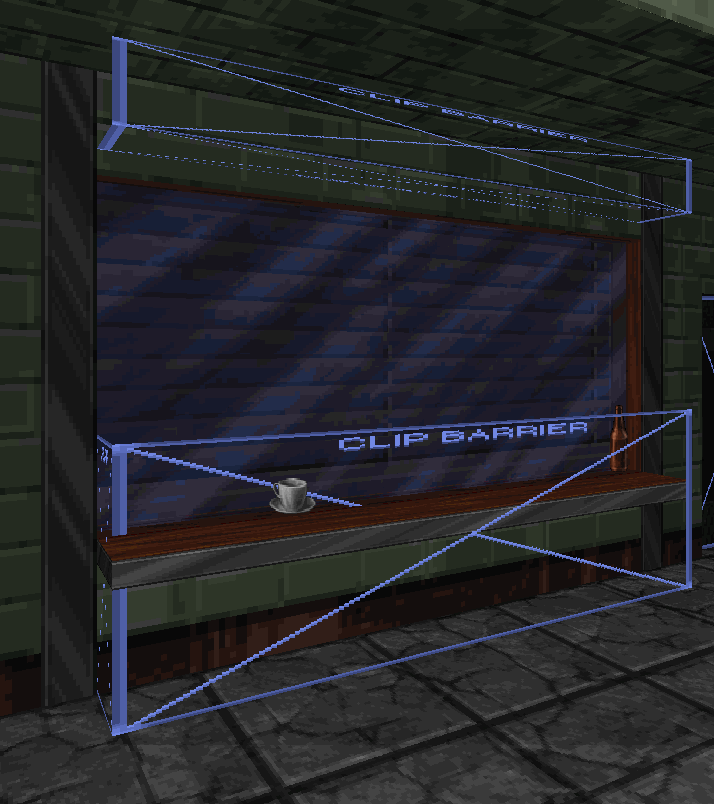 |
(left) One of the action packed sections on the latter half uses a lot of sprites to create hanging balconies. In order to get angled railings at the stairs, the whole floor has to be raised here.
(right) Many floating objects require constant manual correction with clip sprites.
Outdoor skies, and our take on it
 |
 |
 |
In order from left: (1) In-game (2) How the geometry is actually laid out (3) Off-map Skybox
It might not be obvious but old FPS games didn’t really have true exterior areas like you might think. What separated outdoor areas from indoors was simply the use of a special sky texture that wasn’t relative to the game world. This instantly gave the impression that there was more out there than what you saw. Later games evolved this in to cubic skyboxes that essentially gave you a 360 panorama to look at. We decided to do something similar to what Source engine does by placing a camera in to a miniature area that gets blown for the player.
We got some wild ideas for this one so expect to see a trick or two!
Additional 3D through lighting
Last thing important to 3D is shading. Build is extremely flexible when it comes to shading and colouring objects but with one major drawback: Everything is manual labor. Every surface, every corner, face of an object, sprite, and everything else you see has to be manually adjusted by ticking one shade unit at a time. The more detail you add to a room, the more shading you need to do!
There is no hand holding, no light maps, no automation. It’s all on you.
 |
 |
(Left) Before shading (Right) After a shading pass
As you can probably see, areas tend to look very dull until you do shading passes.
Remember those sectors that we talked about? Every directional light or addition of contrast relies on the mapper manually drawing each and every red line where he might want even a tiny bit of variance. Shading is easily one of the most time-consuming parts when it comes to mapping and a skilled mapper will try to re-use any sector boundaries that he might have created.
Although through a different lens, this can present additional opportunities for sector overlaps.
In total, all the 5 surfaces you see here had to be manually punched in.
There is no automation for lighting.
Even without textures, objects immediately come to life with some basic shading in place.

Excessive “polygon counts” won’t help you here. Almost 50 sectors to shade by hand, get busy!
These are just scratching the surface on what cool lighting tricks you can do with the immense flexibility that Build gives you, this is something we’d love to return to later!
Thanks for making it this far! if you like what you saw then please consider checking out Ion Maiden on steam (which is on sale as of writing!) at https://store.steampowered.com/app/562860/Ion_Maiden/
On behalf of the whole Ion Maiden team, I’d like to thank for the overwhelming support we’ve received and we hope to return with some more behind the scenes stuff later on!
Signing off,
- Max ‘oasiz’ Ylitalo / Level design lead